

🍳 In This Article
- The Rich History and Cultural Roots of This Dish
- Why This Recipe Works: The Food Science Behind It
- Complete Ingredient Breakdown
- Step-by-Step Instructions
- Expert Tips from Years of Kitchen Experience
- Nutritional Benefits and Health Insights
- Creative Variations and Dietary Adaptations
- Frequently Asked Questions
- Final Thoughts
There is a specific, Pavlovian response that happens in a Tex-Mex restaurant when the kitchen door swings open and a server emerges with a hissing, steaming cast-iron skillet. That “sizzle” is the universal siren song of the fajita. For years, I believed that capturing that specific magic—that combination of charred, sweet peppers and succulent, smoky meat—required a screaming-hot grill or a specialized heavy-bottomed pan. But as a dad who often finds himself staring at the refrigerator at 5:30 PM with three hungry kids and a mounting pile of laundry, I realized I needed a solution that balanced culinary integrity with the reality of a Tuesday night. The sheet pan is the unsung hero of the modern kitchen, a tool that, when used with a bit of food science knowledge, can mimic the high-heat environment of a commercial kitchen while keeping your stovetop pristine. This isn’t just about throwing ingredients on a tray; it’s about understanding heat transfer and moisture management to create a masterpiece in thirty minutes.
The Rich History and Cultural Roots of This Dish
To truly appreciate the fajita, we have to look back to the ranching culture of the Rio Grande Valley along the Texas-Mexico border in the 1930s. The word “fajita” is derived from the Spanish word “faja,” which translates to “belt” or “girdle.” Historically, this referred to the skirt steak, a thin, tough diaphragm muscle of the steer. During cattle roundups, Mexican cowboys, known as vaqueros, were often given the less desirable cuts of meat as part of their pay. They learned to marinate this tough fiber in lime juice and spices, grilling it over open mesquite fires and slicing it against the grain to make it tender. It was a dish born of necessity, ingenuity, and a deep understanding of how to transform humble ingredients into something spectacular.
For decades, fajitas remained a regional secret, shared among families and ranch hands. It wasn’t until the late 1960s that the dish began its journey into the mainstream. A meat market manager named Sonny Falcon is often credited with operating the first commercial fajita stand at a celebration in Kyle, Texas, in 1969. From there, the dish exploded in popularity, eventually landing on the menu of high-end hotels in Austin and San Antonio. As the dish moved from the campfire to the restaurant, the definition of “fajita” expanded. While purists might argue that only skirt steak qualifies, the culinary world embraced chicken, shrimp, and even portobello mushrooms, all prepared with that signature blend of char, citrus, and spice.
The transition to the “sheet pan” method is the latest evolution in this storied history. It represents the democratization of Tex-Mex cooking, moving the dish from the specialized equipment of a restaurant line to the accessible home oven. In Texas, we take our Tex-Mex seriously, but we also value the “big tent” philosophy of cooking—if it tastes good and brings the family together, it belongs on the table. By using a sheet pan, we aren’t abandoning tradition; we are adapting the vaquero’s spirit of efficiency to the modern, fast-paced world.

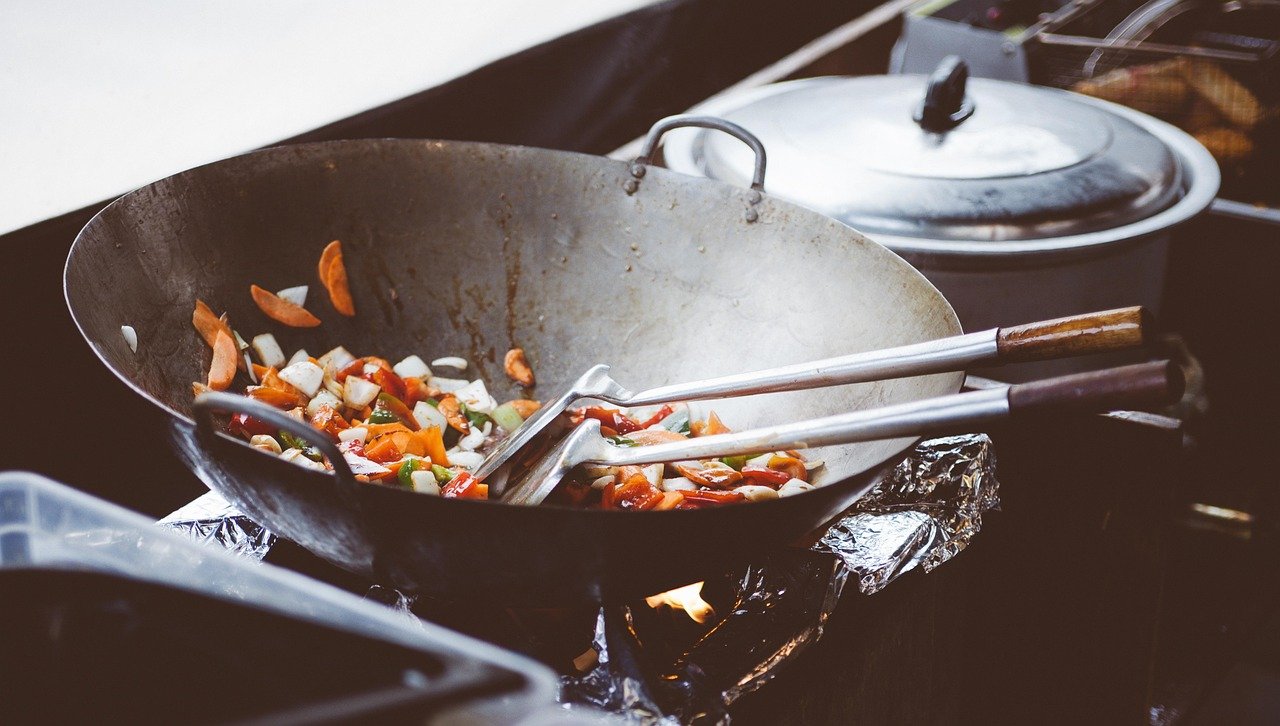
📷 Photo by Rierosa222 on Pixabay — Free to use under the Pixabay License
Why This Recipe Works: The Food Science Behind It
The primary challenge of sheet pan cooking is avoiding the “steaming effect.” When you crowd a pan with moisture-rich vegetables like bell peppers and onions alongside raw protein, the oven’s heat often turns that moisture into steam before it can evaporate. This results in gray, rubbery meat and mushy vegetables. To combat this, we utilize the Maillard reaction. This is a chemical reaction between amino acids and reducing sugars that gives browned food its distinctive flavor. By cranking the oven to 425°F (220°C), we ensure that the surface of the chicken and vegetables reaches the temperature necessary for browning to occur rapidly, even in the presence of some moisture.
According to National Institutes of Health (NIH), vitamin and mineral research plays an important role in understanding food preparation and nutrition.
Another critical scientific element is the role of the marinade’s pH balance. I always include lime juice or a splash of vinegar in my fajita seasoning. The acid serves two purposes: it acts as a tenderizer by denaturing the tightly wound protein strands in the chicken, and it balances the “heavy” flavors of the cumin and chili powder. Furthermore, the oil in the marinade acts as a heat conductor. Because oil can reach much higher temperatures than water, it helps transfer the oven’s thermal energy directly into the food’s surface, accelerating the browning process and sealing in the internal juices through rapid surface coagulation.
Lastly, we must consider the surface area-to-volume ratio. By slicing the chicken and vegetables into uniform, thin strips, we increase the surface area exposed to the hot air of the oven. This allows for faster cooking and more opportunities for caramelization. Caramelization is the pyrolysis of sugars (distinct from the Maillard reaction), which happens in the onions and peppers as their natural glucose and fructose break down under high heat, creating those sweet, charred edges that define a great fajita. When you combine these three principles—high heat, acid-driven tenderization, and maximized surface area—you get a restaurant-quality result without ever touching a skillet.
Complete Ingredient Breakdown
A great meal starts with a deep understanding of your components. For these sheet pan fajitas, we categorize ingredients into the “Base,” the “Aromatic Seasoning,” and the “Bright Finish.”
According to American Heart Association, heart-healthy cooking guidance plays an important role in understanding food preparation and nutrition.
- The Base:
- Chicken Breast or Thighs (approx. 700g / 1.5 lbs): I prefer boneless, skinless thighs for their higher fat content and resilience to high heat, but breasts work perfectly if you slice them across the grain to ensure tenderness.
- Bell Peppers (3 large, approx. 450g): Use a mix of red, yellow, and orange. These provide not just color, but a high concentration of Vitamin C and natural sugars that caramelize beautifully.
- Red Onion (1 large, approx. 200g): Red onions hold their structure better than white onions under high heat and offer a more pungent, spicy-sweet profile when roasted.
- The Seasoning (The “Tex-Mex Rub”):
- Avocado Oil or Grapeseed Oil (45ml / 3 tbsp): You need an oil with a high smoke point. Extra virgin olive oil can smoke and turn bitter at 425°F; avocado oil is stable up to 500°F.
- Chili Powder (10g / 2 tsp): Provides the base “earthy” heat. Look for a blend that includes ancho or guajillo for depth.
- Ground Cumin (5g / 1 tsp): The quintessential scent of Tex-Mex. It adds a nutty, smoky undertone.
- Smoked Paprika (5g / 1 tsp): This is my “secret” ingredient. It mimics the flavor of a wood-fired grill that you’d get in a traditional backyard setting.
- Garlic Powder and Onion Powder (5g each / 1 tsp): These provide a more even coating than fresh aromatics, which can burn at high temperatures on a sheet pan.
- Kosher Salt (6g / 1.25 tsp): Essential for flavor enhancement and moisture control.
- The Finish:
- Fresh Lime Juice (2 limes): The “acid hit” added at the very end brightens the entire dish and cuts through the richness of the oil.
- Fresh Cilantro (1/2 cup, chopped): Adds a floral, herbaceous note that balances the heavy spices.

📷 Photo by webvilla on Pixabay — Free to use under the Pixabay License
Step-by-Step Instructions
Before you begin, clear your workspace. In professional kitchens, we call this mise en place—everything in its place. When cooking at high temperatures, you don’t have time to be hunting for a spatula or a lime. Set your intentions, put on some music, and let’s get to work. For more delicious ideas, explore our easy lunch ideas collection.
- Step 1 — Preheat and Prep the Pan: Adjust your oven rack to the upper-middle position and preheat to 425°F (220°C). For the best results, do not line the pan with parchment paper; the direct contact with the metal encourages better browning. If you are worried about cleanup, use heavy-duty aluminum foil, but a bare, seasoned pan is the gold standard for sear.
- Step 2 — Slicing for Success: Slice your chicken into 1/2-inch (1.25cm) strips. Slice the peppers and onions into similar widths. Uniformity is the key to even cooking. If your chicken is thicker than your peppers, the vegetables will turn to mush before the chicken is safe to eat. Aim for a “matchstick” consistency.
- Step 3 — Emulsify the Marinade: In a large mixing bowl, whisk together the avocado oil, chili powder, cumin, smoked paprika, garlic powder, onion powder, and salt. This creates a flavor slurry. By mixing the spices into the oil first, you ensure that the fat-soluble flavor compounds in the spices are fully activated and will coat the ingredients evenly.
- Step 4 — The Great Toss: Add the chicken, peppers, and onions to the bowl. Use your hands (my favorite tool!) to massage the spice oil into every crevice. You want every strip of chicken and every sliver of onion to be glistening. This prevents the ingredients from drying out in the dry heat of the oven.
- Step 5 — The Layout: Spread the mixture onto your sheet pan. Crucial Rule: Do not overcrowd. If the ingredients are piled on top of each other, they will steam. There should be visible space on the pan surface. If necessary, use two sheet pans. Spreading them out allows the hot air to circulate, driving off moisture and initiating the Maillard reaction.
- Step 6 — The Roast and the Finish: Slide the pan into the oven and roast for 18–22 minutes. At the 10-minute mark, use a spatula to toss the ingredients. Look for the chicken to reach an internal temperature of 165°F (74°C) and for the edges of the peppers to be slightly blackened. Immediately upon removing from the oven, squeeze the fresh lime juice over the hot pan. The steam created by the juice will help loosen any flavorful browned bits (fond) stuck to the pan.
Expert Tips from Years of Kitchen Experience
Over the years, I’ve made thousands of fajitas, and the difference between a “good” home meal and a “wow” meal often comes down to the smallest details. These are the nuances that separate the amateurs from the seasoned home cooks.
- Temperature Control: If your oven has a convection setting, use it! Convection fans circulate the hot air more aggressively, which is perfect for sheet pan meals as it helps moisture evaporate even faster, leading to a superior char. If using convection, drop the temperature to 400°F (205°C) to avoid burning the spices.
- Ingredient Quality: Use fresh, firm bell peppers. If they are starting to wrinkle, they have lost their cellular structure and will become watery when cooked. For the chicken, I highly recommend air-chilled poultry. Standard chicken is often chilled in a water bath, meaning it carries excess water weight that will leak out onto your pan, ruining your sear.
- Timing and Patience: Resist the urge to peek! Every time you open the oven door, you lose roughly 25-50 degrees of heat. This dish relies on consistent, high thermal energy. Trust the timer and only open the door once to flip the ingredients halfway through.
- Seasoning Balance: Always taste a piece of pepper before serving. If it tastes “flat,” it likely needs a pinch more salt or another squeeze of lime. Salt enhances flavor, but acid provides the “lift.” If it’s too spicy, a dollop of sour cream or Greek yogurt on the side provides the necessary casein to neutralize the capsaicin.
Nutritional Benefits and Health Insights
One of the reasons I love this recipe for my family is its incredible nutritional density. Bell peppers are nutritional powerhouses; a single red bell pepper contains more than 200% of your daily Vitamin C requirement. Vitamin C is a potent antioxidant that supports immune function and collagen production. When roasted quickly at high heat, much of this nutritional value is retained compared to boiling or long stewing. Furthermore, onions contain quercetin, a flavonoid that has been studied for its anti-inflammatory properties.
From a macronutrient perspective, this is a very balanced meal. Using chicken breast or thighs provides high-quality lean protein, essential for muscle repair and satiety. By controlling the oil ourselves, we keep the fat content healthy, focusing on monounsaturated fats from avocado oil. A typical serving (about 1/4 of the pan) contains approximately 320 calories, 35g of protein, 12g of fat, and 10g of carbohydrates. If you are watching your carbohydrate intake, these fajitas are naturally keto-friendly when served in lettuce wraps or over a bed of cauliflower rice.
For those with dietary restrictions, this recipe is naturally gluten-free and dairy-free. To keep it low-sodium, you can reduce the added salt and increase the amount of smoked paprika and lime juice, which provide “perceived” saltiness through aromatics and acidity. It’s a heart-healthy way to enjoy bold, aggressive flavors without the hidden sugars and preservatives found in store-bought fajita kits. For more delicious ideas, explore our cooking tips and guides collection.
Creative Variations and Dietary Adaptations
The beauty of the sheet pan method is its versatility. Once you master the basic technique, you can adapt it to any palate or pantry.
- The Vegan “Portobello” Twist: Replace the chicken with 4 large Portobello mushroom caps, sliced into thick strips. Mushrooms are 90% water, so I recommend roasting them on a separate pan or giving them a 5-minute head start to ensure they get meaty and browned rather than soggy.
- Shrimp Fajita Express: Shrimp cook much faster than chicken (usually 6-8 minutes). Roast your peppers and onions for 12 minutes first, then add the seasoned shrimp to the pan for the final few minutes of cooking. This prevents the shrimp from becoming rubbery.
- The “Spicy Texan”: Add two sliced jalapeños (with seeds for extra heat) to the vegetable mix. Increase the chili powder and add a half-teaspoon of cayenne pepper to the marinade. Serve with a spicy chipotle crema.
- The Mediterranean Fusion: Swap the cumin and chili powder for dried oregano, lemon zest, and a touch of cinnamon. Use red wine vinegar instead of lime juice. Serve with feta cheese and tzatziki for a “Fajita-Gyros” hybrid.
- Meal-Prep Friendly: This recipe scales perfectly. I often double the batch using two sheet pans. The roasted chicken and vegetables hold up beautifully in the fridge for up to 4 days. Reheat them in a dry skillet for 2 minutes to regain that crisp edge.
Frequently Asked Questions
Why is my chicken dry even though I followed the timing?
The most common culprit for dry chicken is the cut. Chicken breast is very lean and has a narrow window of perfection. If your slices were too thin, they may have overcooked. Next time, try using boneless, skinless chicken thighs. Their higher fat content makes them much more forgiving. Also, ensure you are slicing *against* the grain; this breaks up the muscle fibers, making the meat feel more tender on the tongue even if it’s well-done.
Can I use frozen peppers and onions for this recipe?
Technically yes, but I wouldn’t recommend it for a sheet pan recipe. Frozen vegetables have been blanched and then frozen, which breaks down their cell walls. When they thaw in the oven, they release a significant amount of water all at once. This will result in a “soupy” pan and will prevent the chicken from browning. If you must use frozen, thaw them completely and pat them bone-dry with paper towels before tossing them in the oil.
What is the best way to warm the tortillas?
Don’t use the microwave! For the best flavor, char your tortillas directly over a low gas flame on your stove for 10 seconds per side using tongs. If you don’t have a gas stove, wrap a stack of tortillas in foil and place them in the oven for the last 5 minutes of the fajita roasting time. The trapped steam inside the foil will make them soft and pliable.
My spices burned and tasted bitter. What happened?
This usually happens if the oven rack is too close to the top heating element or if you used an oil with a low smoke point like butter or unrefined coconut oil. Ensure your rack is in the middle or upper-middle position, and always use a high-heat stable oil like avocado or light olive oil. Also, make sure the spices are well-mixed with the oil; “dry” spices on top of meat are much more likely to scorch than spices suspended in an oil film.
Final Thoughts
Cooking for a family is often a balancing act between the desire to provide a nutritious, flavorful meal and the exhaustion that comes at the end of a long day. These sheet pan fajitas are my love letter to the “busy night.” They prove that you don’t need a dozen pans or a culinary degree to put something vibrant and soul-warming on the table. Every time I pull that hot tray out of the oven and the smell of toasted cumin and charred peppers fills my kitchen, I’m reminded that some of the best memories are made over simple, honest food. Don’t be afraid to get your hands dirty, experiment with the spices, and most importantly, enjoy the process. Cooking should be a joy, not a chore. So grab a lime, call the kids to the table, and let the sizzle begin!